
Once the glue dries, it's time to start profiling the neck. I've made some plywood templates to shape the necks. Here's the headstock pattern which I attach to the neck using double stick tape.

First I rough cut the profile on the bandsaw and then head over to the router table to clean everything up. The cutter I use is called a pattern bit. It has a bearing which is the same size as the cutter head. The bearing rides against the plywood template and the cutter will trim the wood exactly to the shape of the template.

Here's a shot of the headstock after routing.

Using the same procedure, I taper the neck.

And here's the final product. The Archtop neck.
I follow the same steps to shape the Flat top neck, here they are side by side.

After the shaping is complete, I glued a vaneer over the top of the headstocks on both necks. Unfortunately, I forgot to bring my camera so I didn't get any pictures of the process. The vaneer is decorative but also helps to strengthen the headstock.
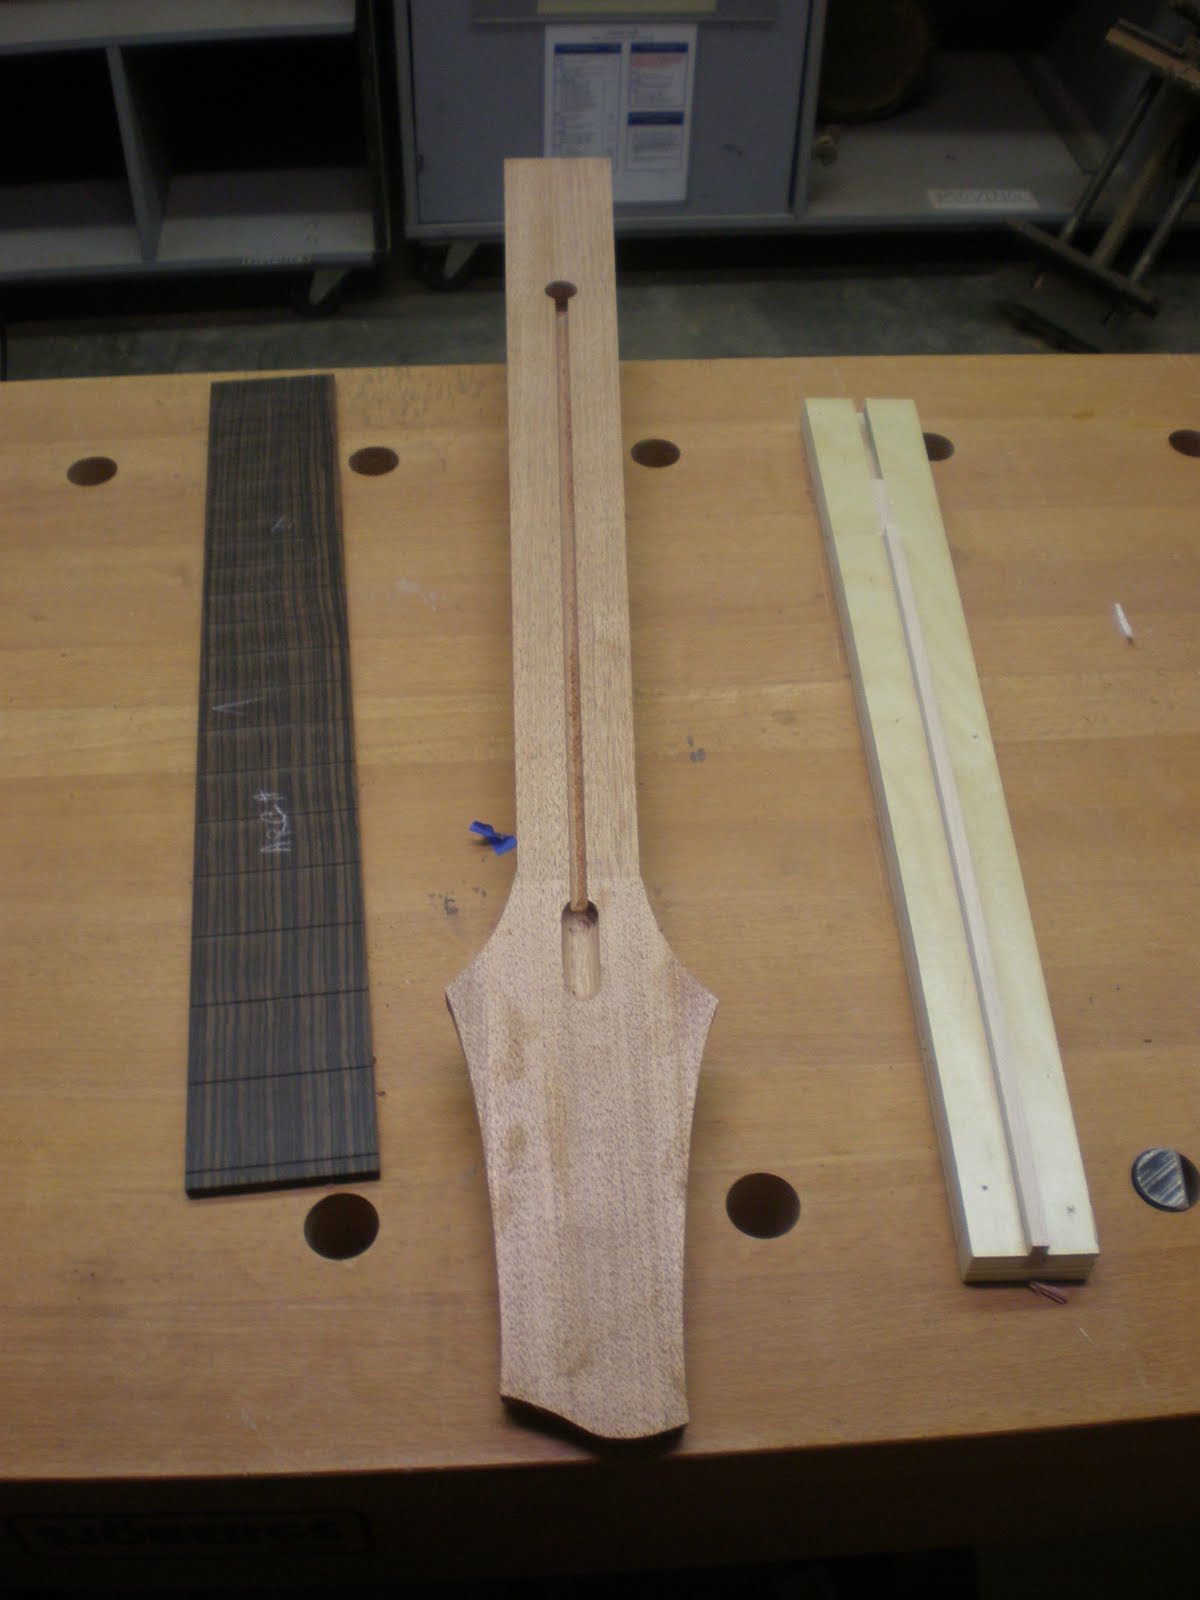
I've been putting graphite spars into my necks to help with the long term stability. Once the neck is tapered, I rout two slots on either side of the truss rod to drop the graphite into.

And then it's time to make the truss rods...I mentioned in an earlier post that the truss rod is a steel bar which is inserted into the neck to counteract the tension exerted by the stings. There are a few different systems to make this happen, the one I use basically works like this: The steel rod is threaded on both ends. One end attaches the an anchor point at the heel end of the neck, and the other end sticks out at the headstock end with a nut and washer on it. I mentioned earlier that the slot I cut into the neck is curved, so I bend the rod to match that curve. I then install the rod into the neck and cover it with a piece of wood called a spline. Once the fingerboard is glued on, the rod is sandwiched into the neck solidly but it is still curved. So here's where the magic happens...Once you string up the guitar and the strings pull the neck forward. You can tighten the nut on the headstock end of the guitar. This forces the rod to try and straighten out, and if everything is installed correctly, pulls the neck back flat against the string tension.

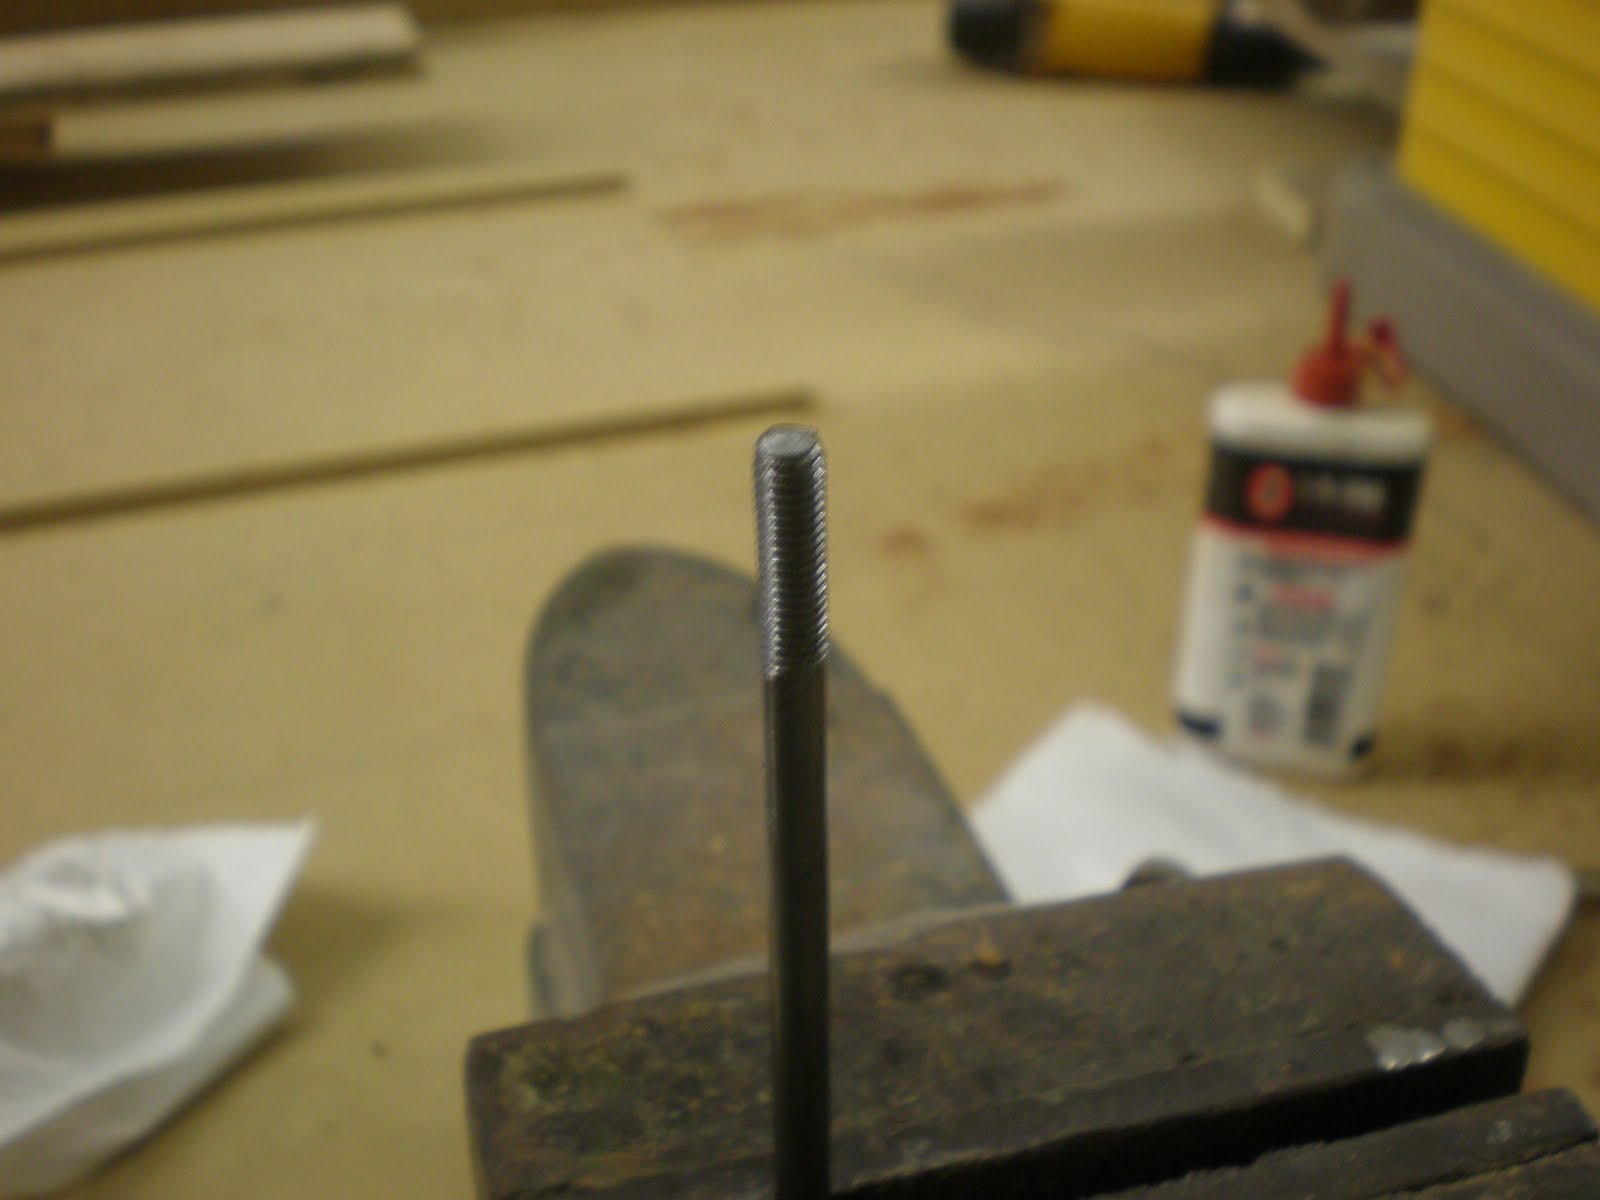
You can buy pre-made truss rods but I've been making my own for a while now. I start with some 3/16" steel rod. After cutting it to length, I thread both ends.

Here's a blurry picture of the threads.
I install the anchor on to one end.

Here's the finished truss rod ready to be installed into the neck.

Here I'm gluing the truss rod in with the spline on the flat-top neck.

I do the same for the Archtop.

Once the glue dries, I trim the spline down flush with the top of the neck. Then I glue in the graphite, and finally, it's time to glue on the fingerboard.

Here is the Archtop neck with the fingerboard glued on.

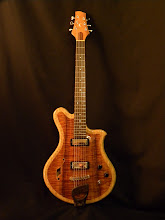
I couldn't resist setting the neck up on the body to get an idea of how it will look. Looks pretty cool! I'm excited to hear how it will sound!

Happy Thanksgiving everybody! talk to you soon!
1 comment:
Clayton, you're a true master. It's great to watch you work. Thanks for taking the time to post this. Looking forward to the day I can visit and see your shop in person.
Post a Comment