Sometimes it's hard to see where you are scraping so I used a white pencil to add some contrast.

Partially done.

Done for now. I may go a bit further, but I want to get strings on the guitar and see how it sounds before making the final adjustments

After an hour or two of scraping and taping I set the archtop aside and got to work on the necks. First step, was to get the fingerboards ready. A few years ago I got some really nice pieces of Maccassar Ebony. I resawed a couple of fingerboard blanks from one of them.

After milling the boards down to size, I got ready to cut the fret slots. On the left is the fingerboard for the flat-top which I slotted but forgot to take pictures of. On the right, is the archtop blank with double stick tape ready for the plexiglass fret scale template.

Here is the template in position, it has little notches cut out at each fret position.

The notches fit perfectly onto an indexing pin in a jig I made for my table saw. All it takes is one cut for each fret slot. This system works great for a standard fret instrument. When I make fanned fret guitars, it' s bit more complicated. Both of these guitars will have standard frets.

Presto! Two slotted fret boards.

Time to layout the necks.

After some careful planning I cut the necks out of the blank using the bandsaw.

The rough neck blanks cut out.

When a guitar is all finished and strung up to pitch, the tension of the strings cause the neck to bow upward. It's important to build in a way to counter-act this tension. The solution is to add a truss rod. Almost every guitar made these days has one. There are many types of truss rods, I prefer the Gibson style rod. Installation involves cutting a curved slot down the middle of the neck. I have a jig I made to do this, of course forgot to take pic's of the process. Anyway, here are the necks with the slots cut.

Traditionally, guitar necks are attached to the bodies with a dovetail joint. I got kind of involved with making the jig to make this all happen and forgot to snap some photos. Here is the end result.
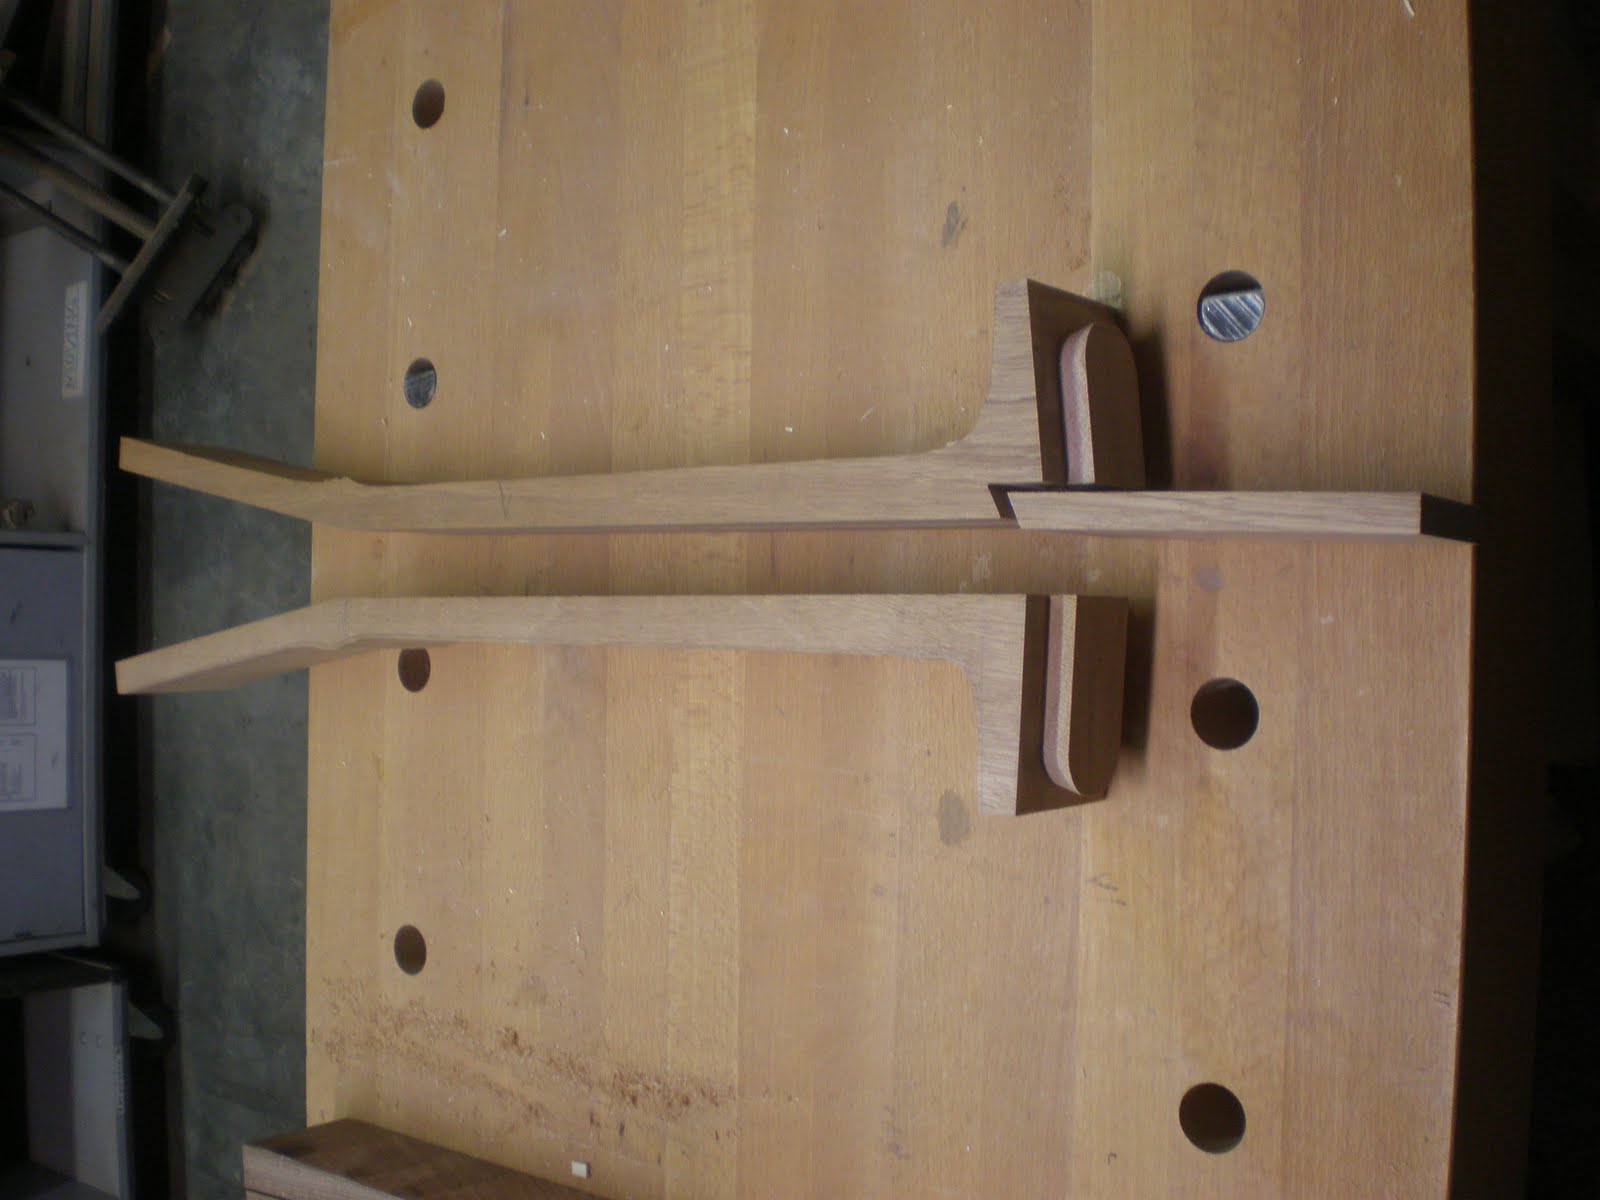
On the left is flat-top neck, and on the right is the archtop neck. Because of the way the archtop neck attaches to the body I needed the install a bit of wood which extends beyond the dovetail. This is to support the fingerboard and is appropriately called the fingerboard extension. Anyway it requires a bit of fancy joinery to get it done. That is the reason for the notch which is cut from the end of the archtop neck.
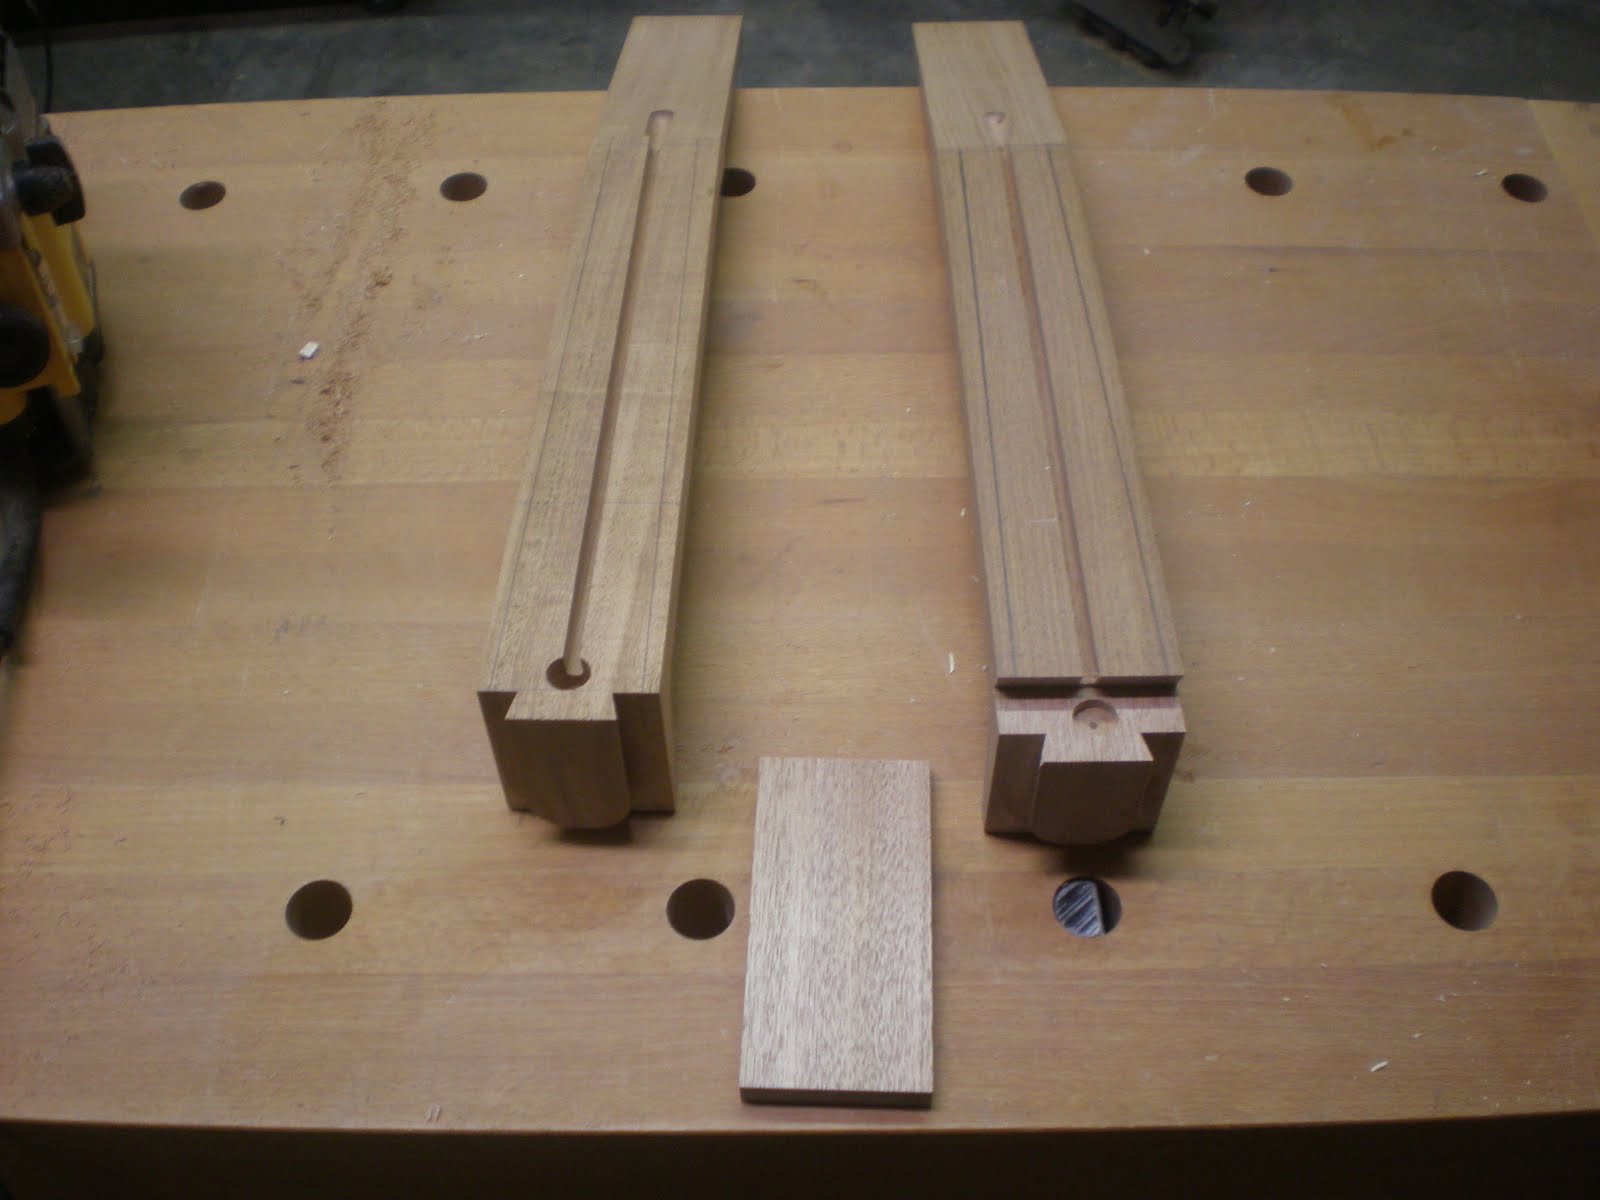
Here I glued the extension in place.

Pretty soon we'll have finished necks! Stay tuned!
No comments:
Post a Comment